How to Configure an ifm Level Sensor
Electronic level sensors by ifm provide essential monitoring of liquid and bulk material levels within various containers, including tanks and silos. All World Machinery uses the devices on ClampMAX® systems. They're crucial for preventing undesirable situations, such as draining a hydraulic tank or accidental tank spills. Understanding how to set your level sensor is a critical aspect of using it.
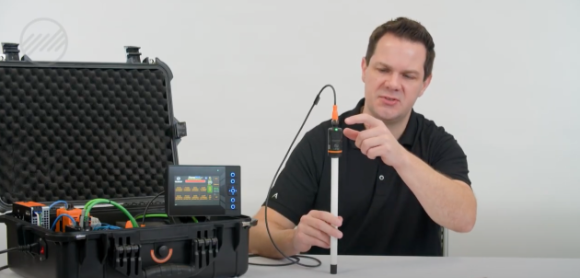
Here is how to set an ifm level sensor. This article uses the ifm LI5132 model. A few models vary on length or depth of tank. In this series of sensors, it only reads off the bottom 25 millimeters, or the one-inch black area on the bottom, which is the indication level.
Start Setup
Start Teach Mode
With the tank empty, go into ifm Teach Mode. It allows you to set the high level and low level marks of your tank.
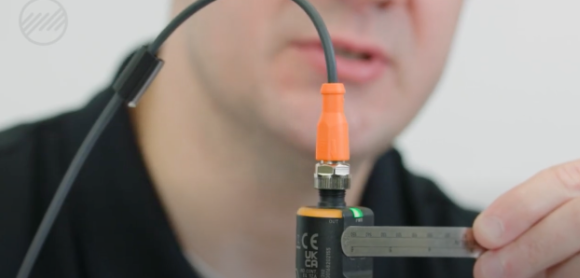
To initiate teach mode, use a metal object such as a scale or screwdriver, and hold it over the face of the switch until it flashes about 10 times. The last one will be a double flash indicating you are in teach mode.
Set Level
Now you can fill your tank, and you can teach high or low level. You can do that again by taking your metal object and holding it over the face of the switch. It will flash three slow times for low level and three fast times for high level. When the fluid level is met, you will see the yellow light at the top of the sensor. This means it is closed, and the fluid level is adequate.

If the fluid level drops below this, the yellow indicator will disappear, and it will give an alarm or show you need to add oil.

Set Temperature
A second output can be used for temperature on this type of switch. Your temperature setting can be set using the ifm software using the same procedures.


